


NOTE: In order to use Sign in with Apple, you will need to have access to an Apple Developer...
ORCID OpenID Connect API Set Up Guide
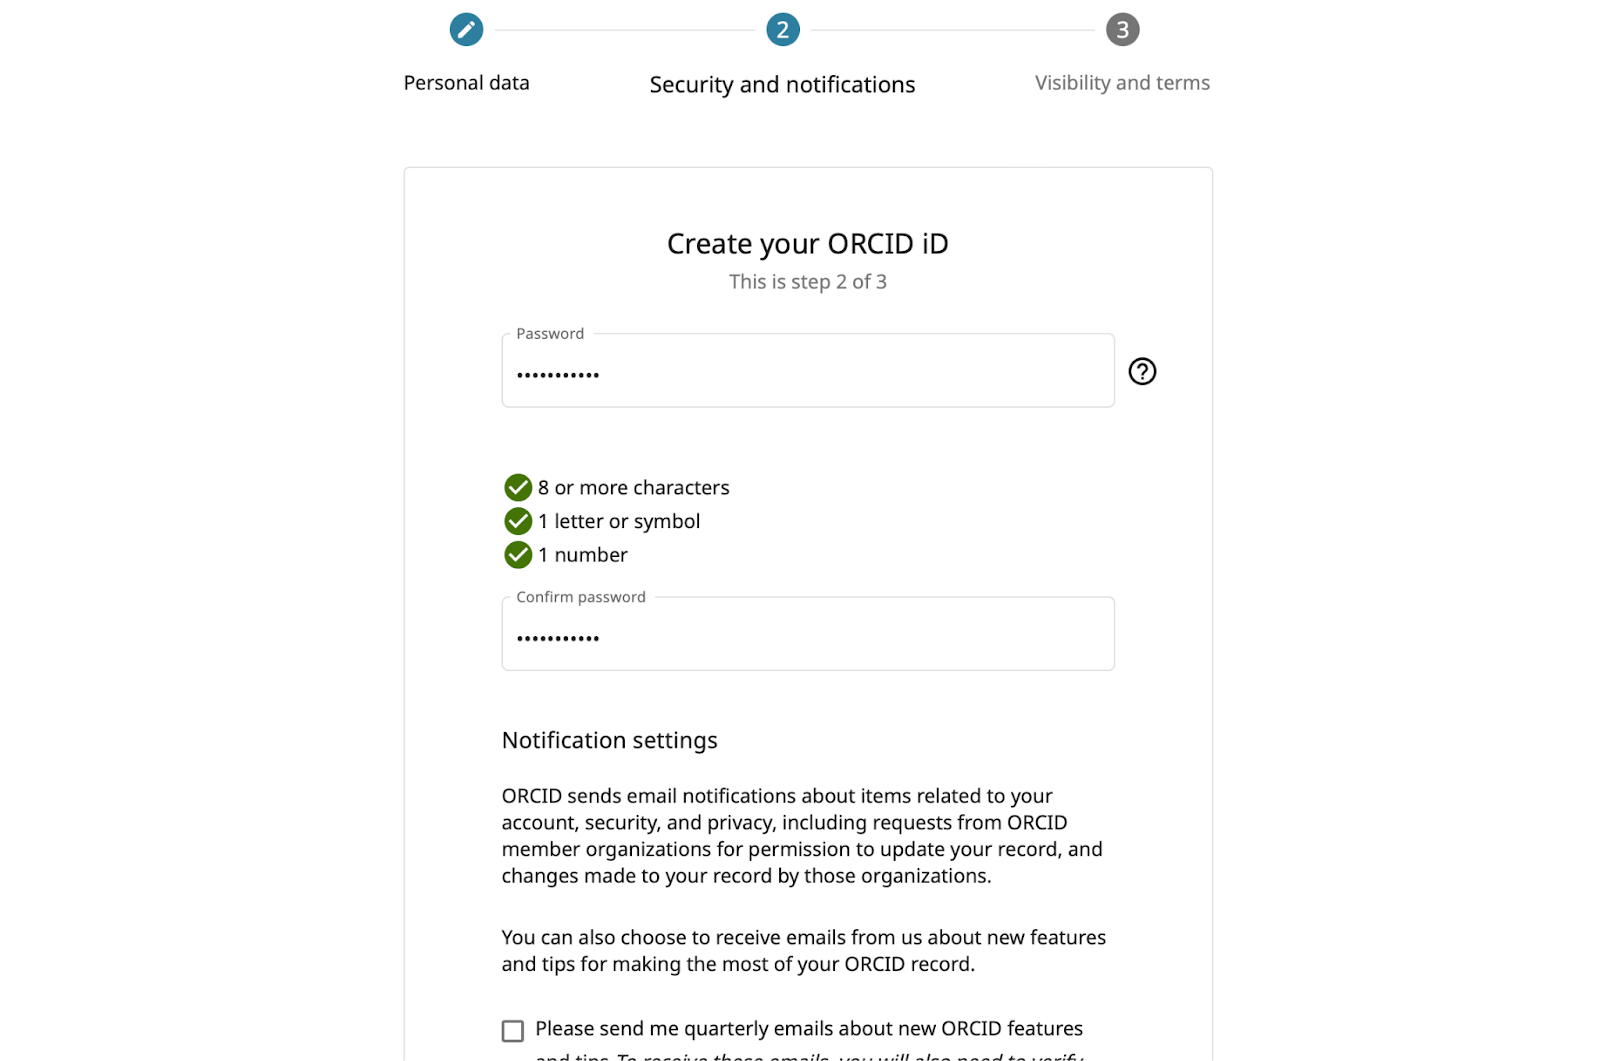
In order to use ORCID OpenID Connect (OIDC) with this service provider, you will need to create ORCID Client Credentials. You can do this by following the steps below. Note: You will need to create an ORCID account prior to performing these steps.
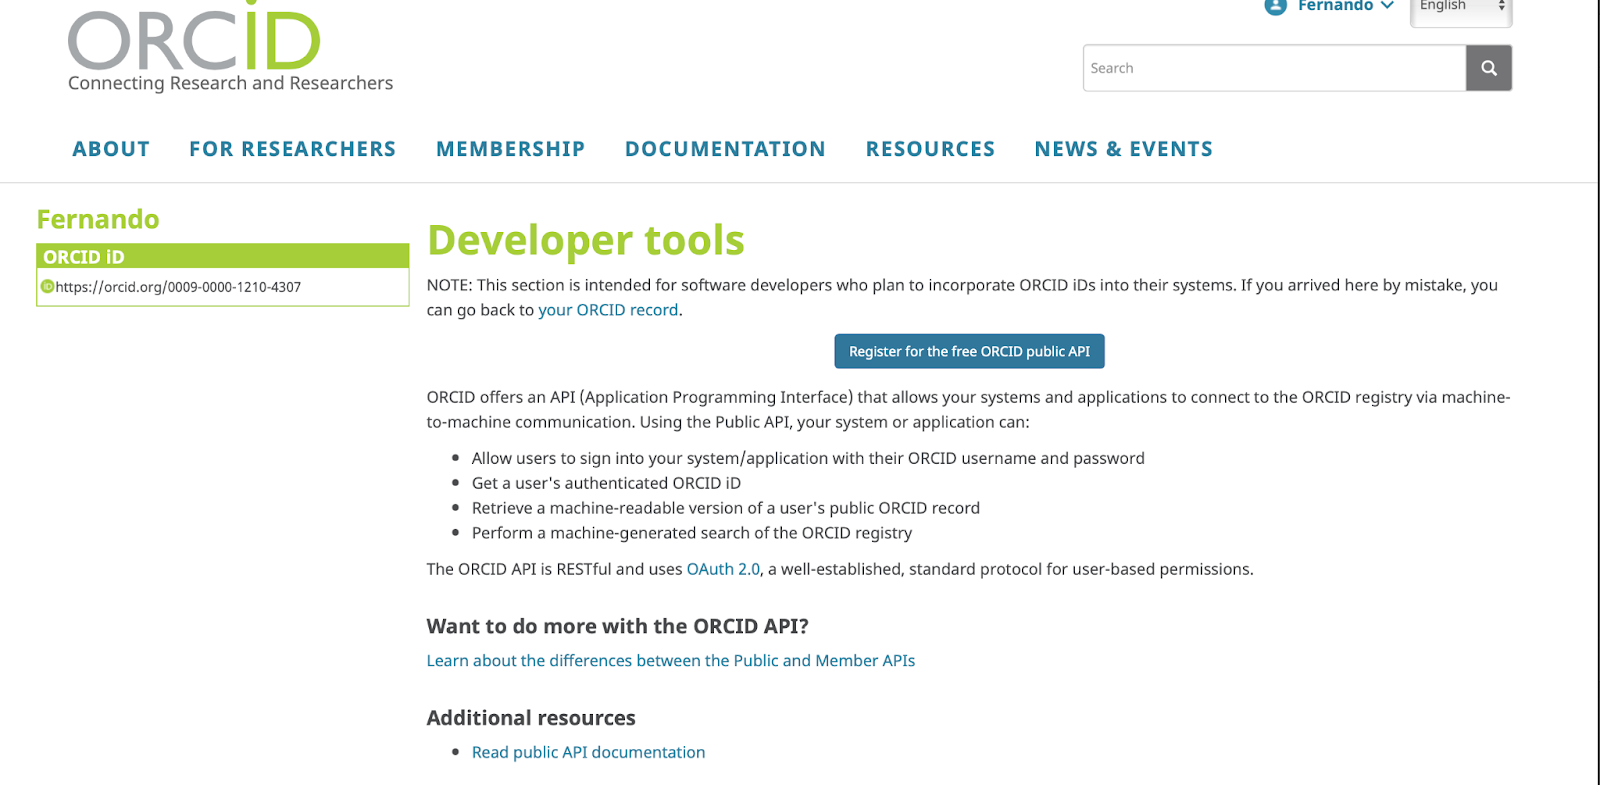
Proceed once you have logged into your ORCID account and accessed the Developer Tools dashboard.
Register a Public API Client
1. Click the Register for the free ORCID public API button.
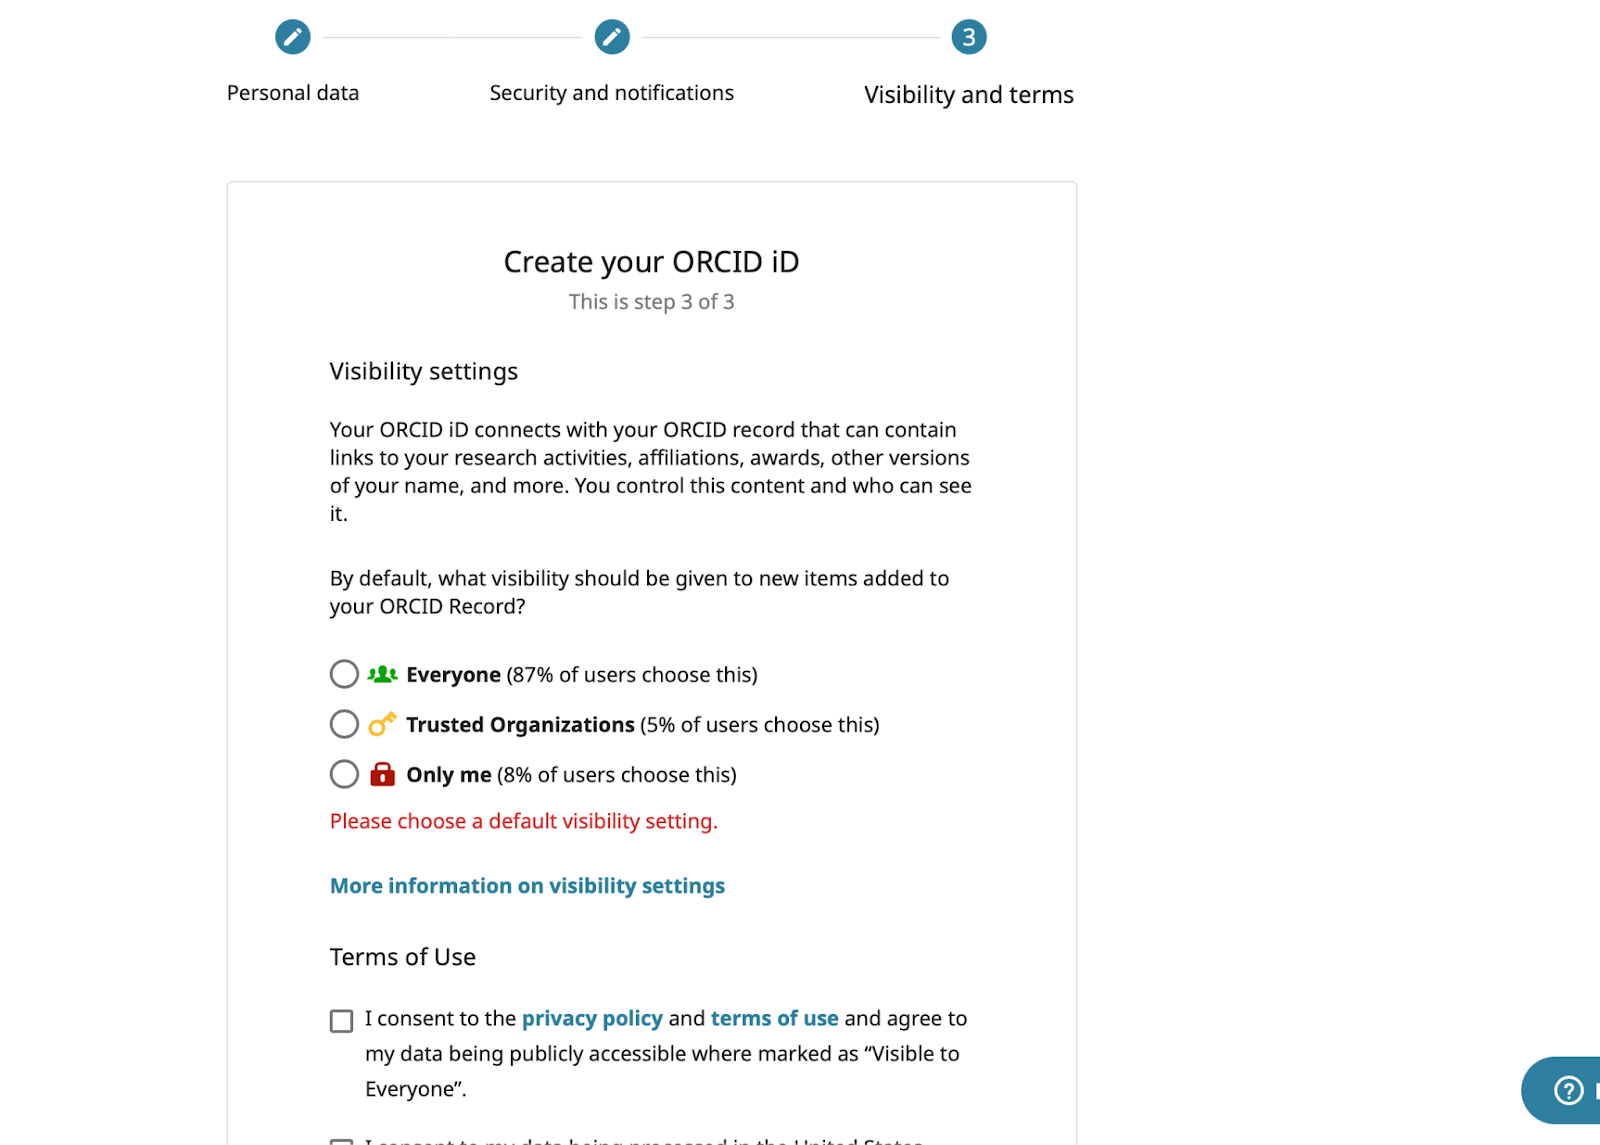
2. Review and agree to the terms of service when prompted.
Register an Application
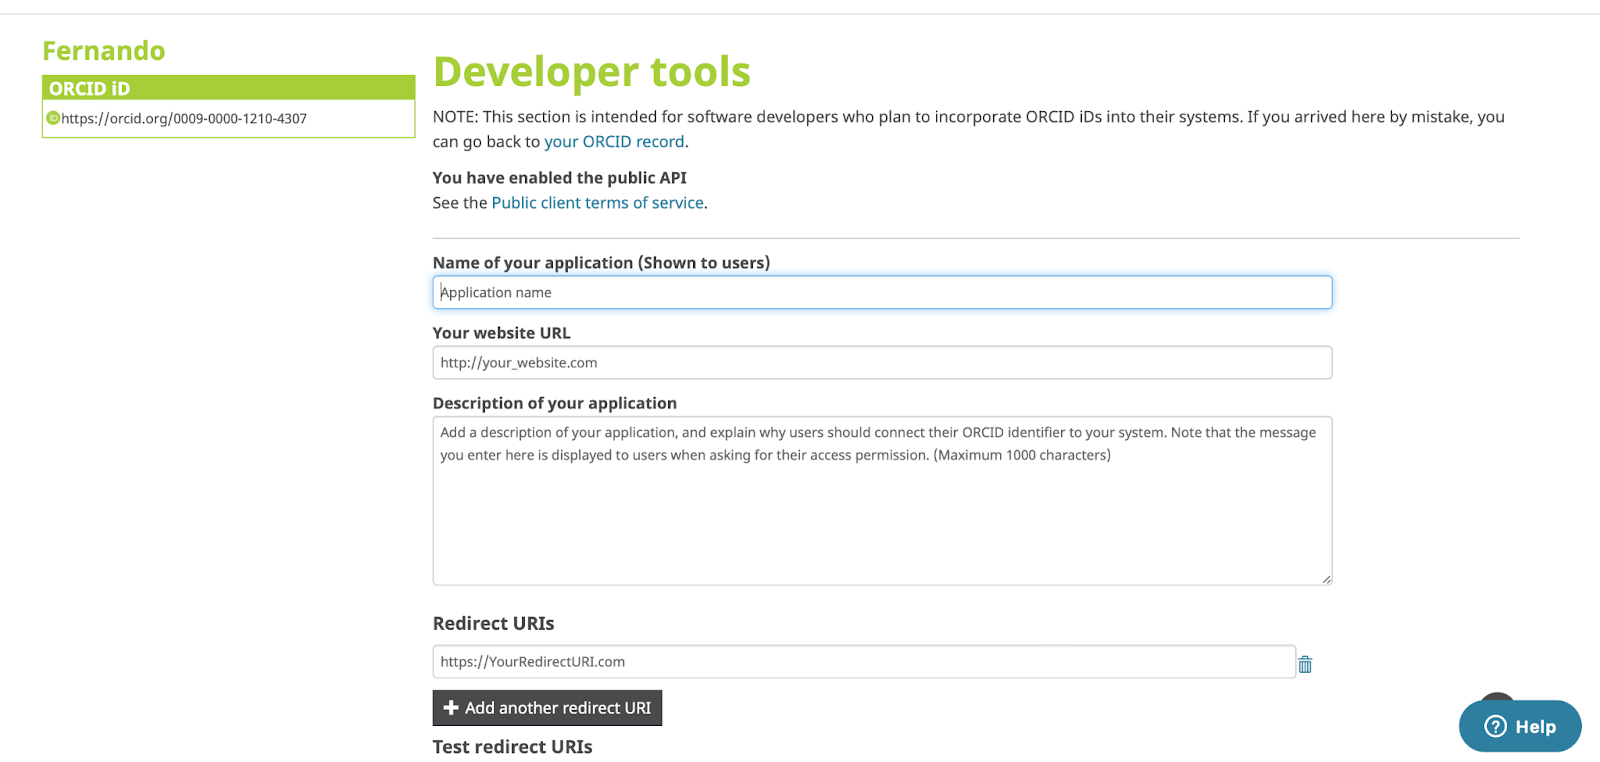
1. After agreeing to the terms of service, you will be directed back to Developer Tools (https://orcid.org/developer-tools). Complete the form presented to register a new application.
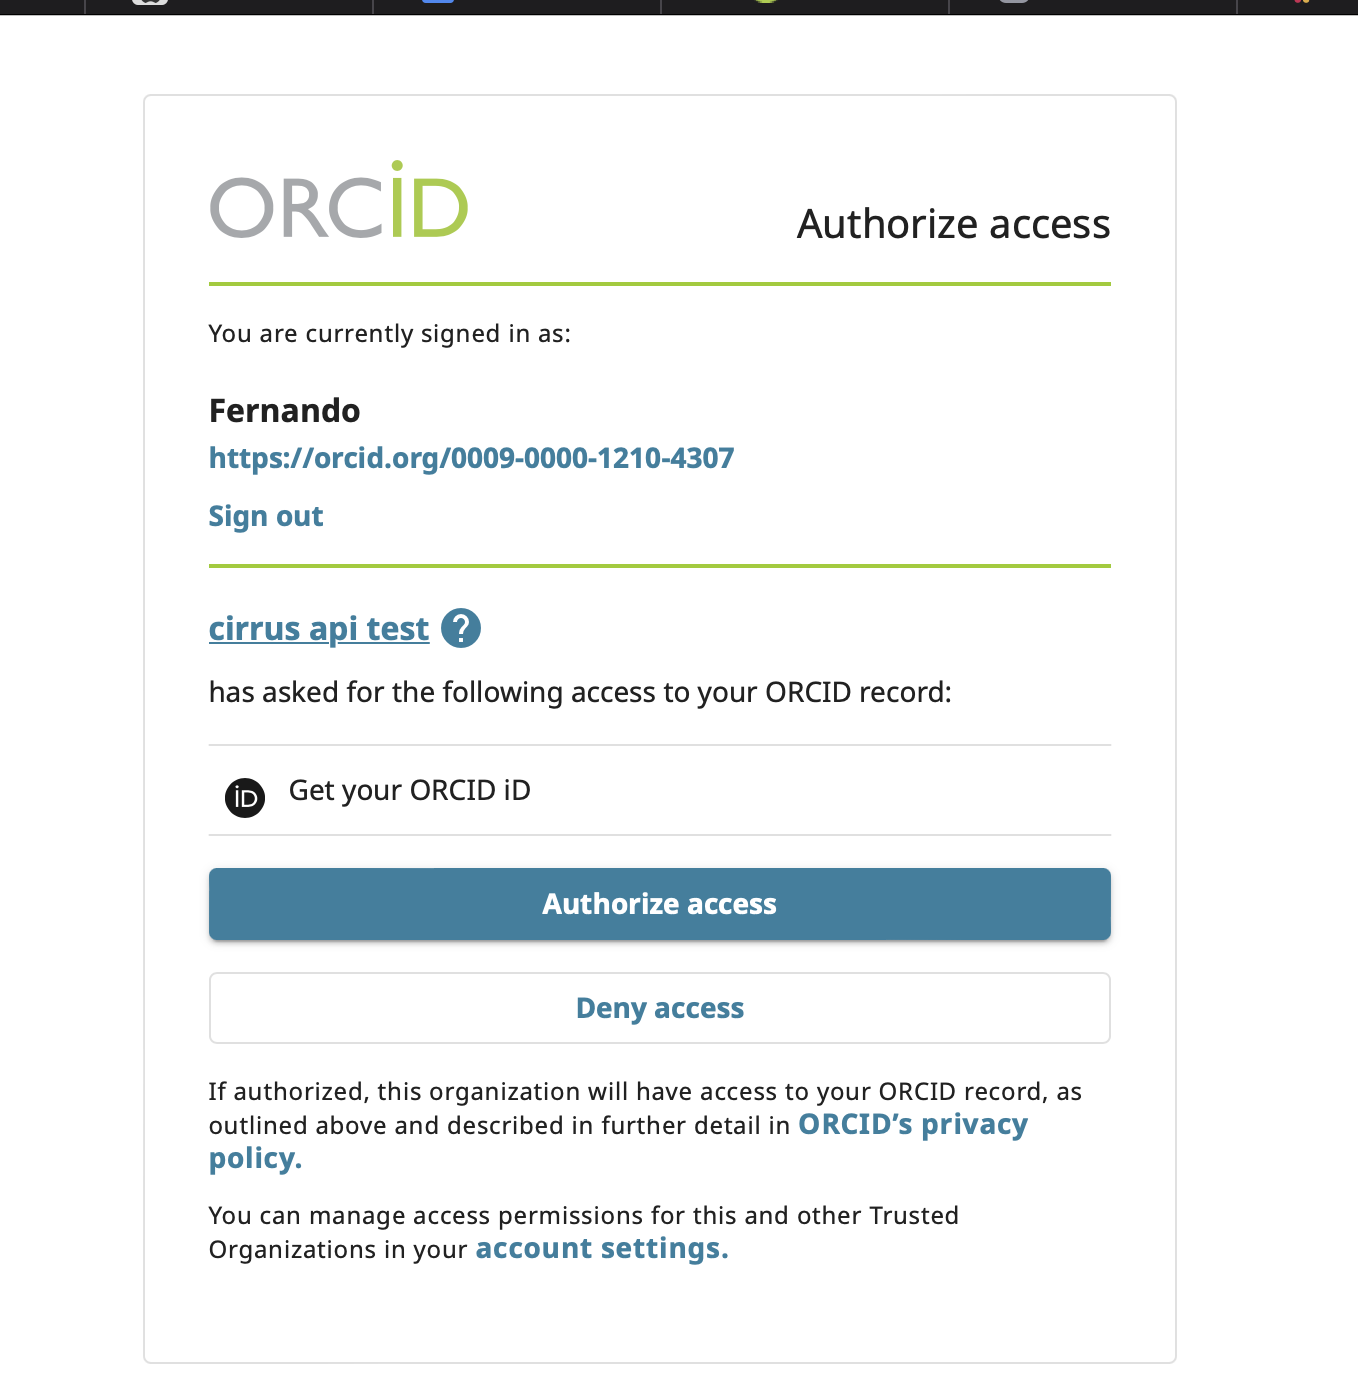
Important: The information from this section gets displayed when a user is redirected to ORCID for authentication. Therefore, it is recommended that you add as much information as you think is necessary to convey a proper level of trust to the user.
a. Name: The name of your application. This will be displayed to users when they grant your application permission to get their ORCID iD, and it will be displayed in their Trusted organization list. We recommend using the name of your organization or SP/app.
b. Website URL: The website the user can visit to learn more about your SP/app. This will be displayed in the user’s Trusted organization list.
c. Description: Information about the SP/app and how you will use the user’s ORCID iD. This will be displayed to users on the OAuth login screen.
2. Enter the Redirect URI listed below (be sure to select the entire URL when copying):
https://athena-institute-demo.qa.cirrusidentity.com/idp/module.php/authoauth2/linkback.php
3. Click the Save icon at the bottom of the form to generate your API credentials.
4. To view your API credentials, click Show Details.
a. Your API credentials – Client ID and Client Secret – are shown just beneath your redirect URIs.
Cirrus Console Settings
- Enter the ORCID account you used above (in “Register an Application”) into the Account Name text field in the Cirrus Console. (Optional but recommended.)
- Copy the Client ID (from step 4.a. under “Register an Application”) and paste it into the API Key text field in the Cirrus Console.
- Copy the Client Secret (from step 4.a. under “Register an Application”) and paste it into the API Secret text field in the Cirrus Console.
- Select one of the available options under ePPN Configuration
- In the Cirrus Console, click the Save button to save your ORCID settings.
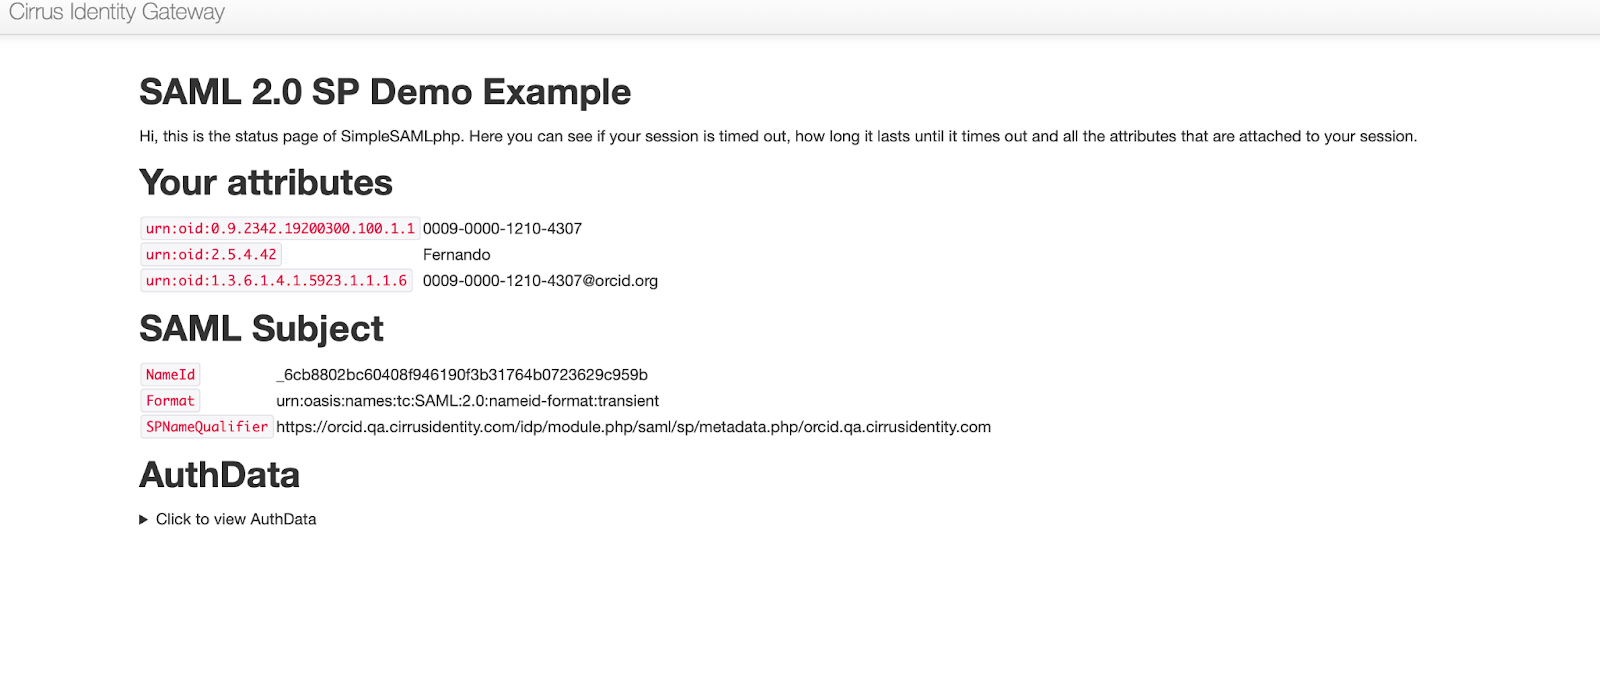
- Once your settings have been saved, click the “Test Login”.