.png?height=200&name=Blog%20Image%20Size%20(36).png)
Overview
Cirrus Bridge IdP Instructions - Google Workspace
To set up your own custom SAML APP, you can follow the instructions here: https://support.google.com/a/answer/6087519?hl=en. Alternatively, you can follow the steps below for visual instructions.
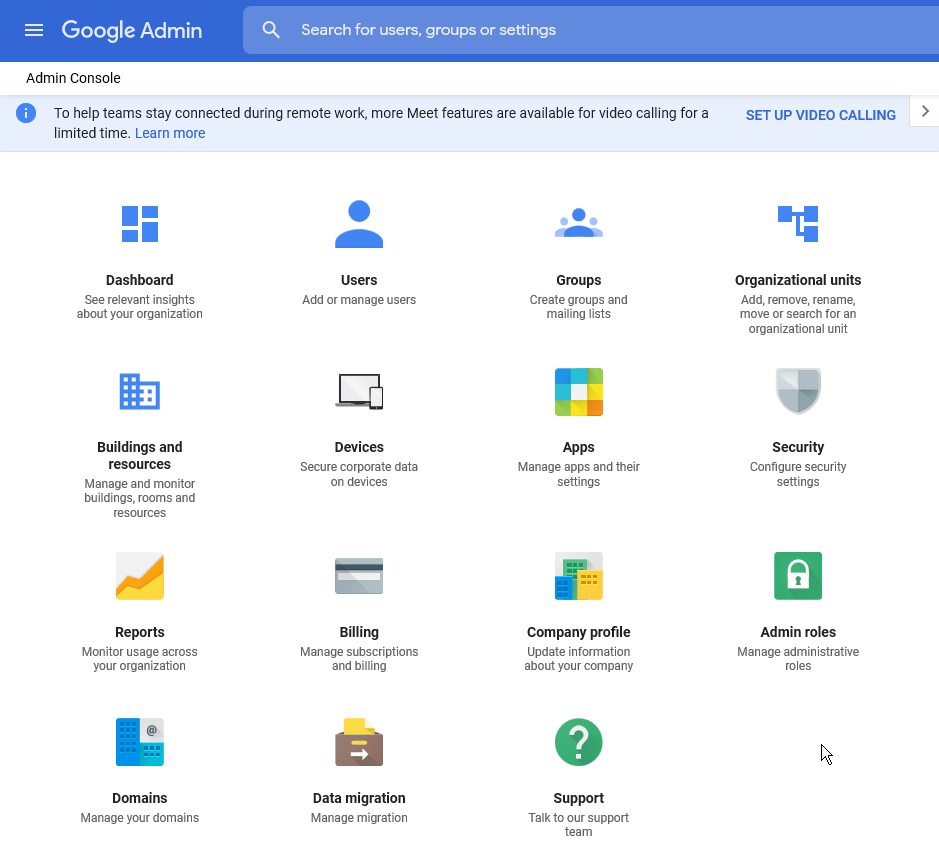
1. Sign-in to the admin console here: admin.google.com
Note: you must use the Google administrator account for your organization. More information on how to sign in to the google admin console here: https://support.google.com/a/answer/182076?hl=en
2. Once you have signed in to the admin console, click on “Apps”.
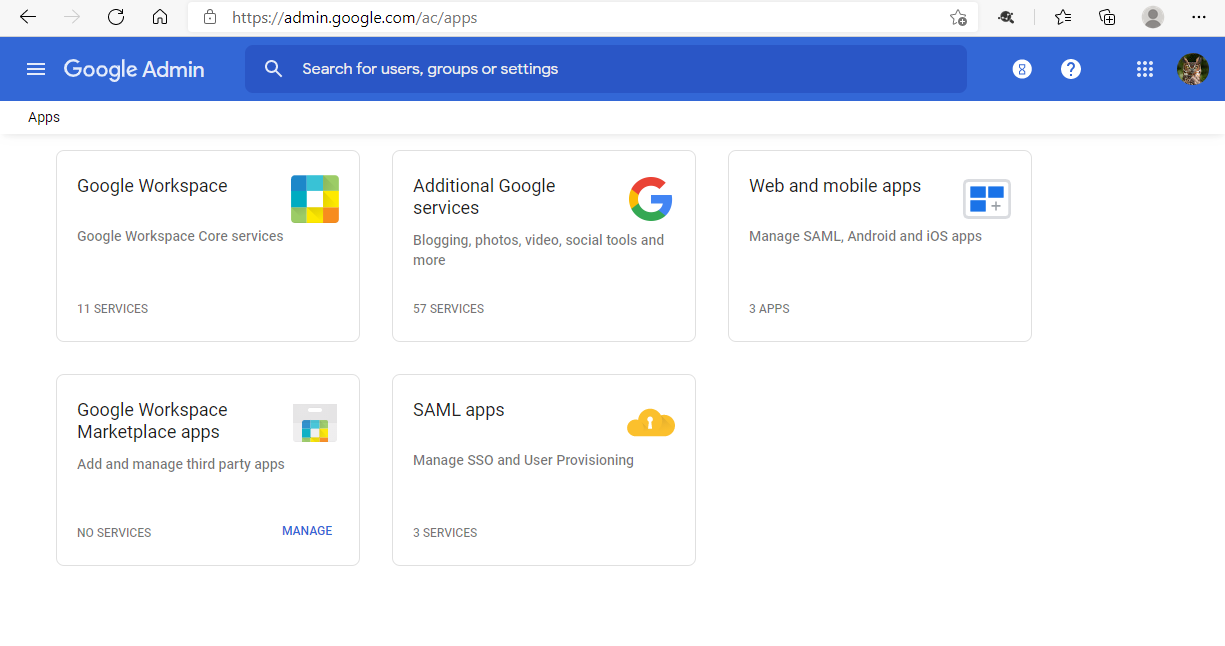
3. Now we will add a custom SAML app. Click on “Web and mobile apps”.
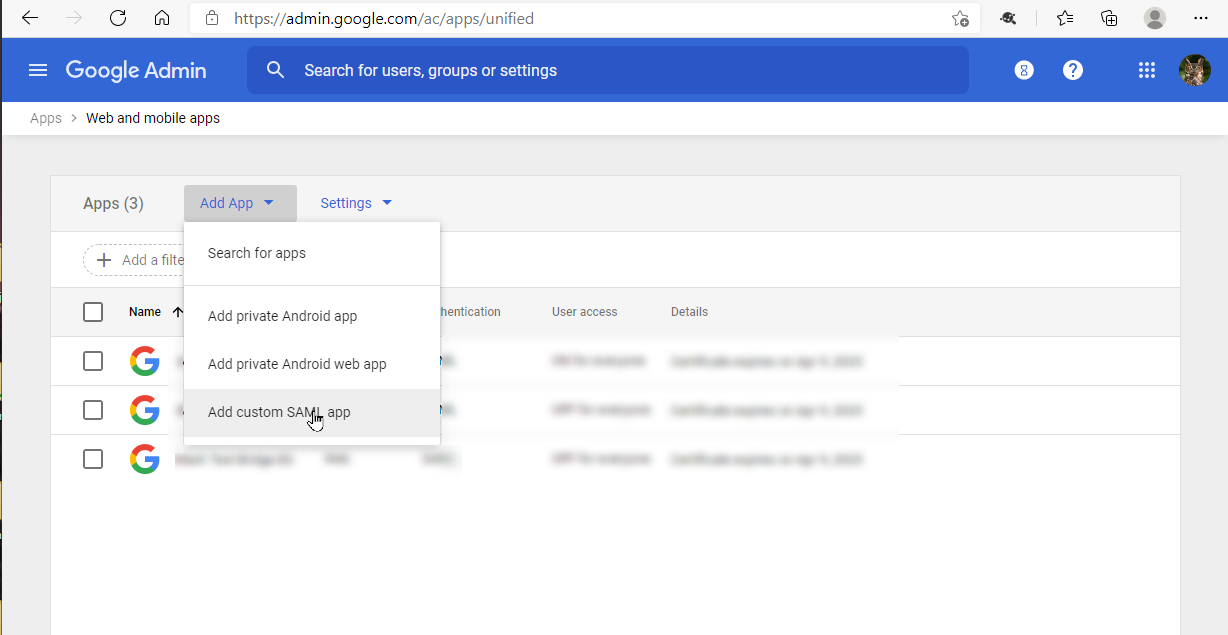
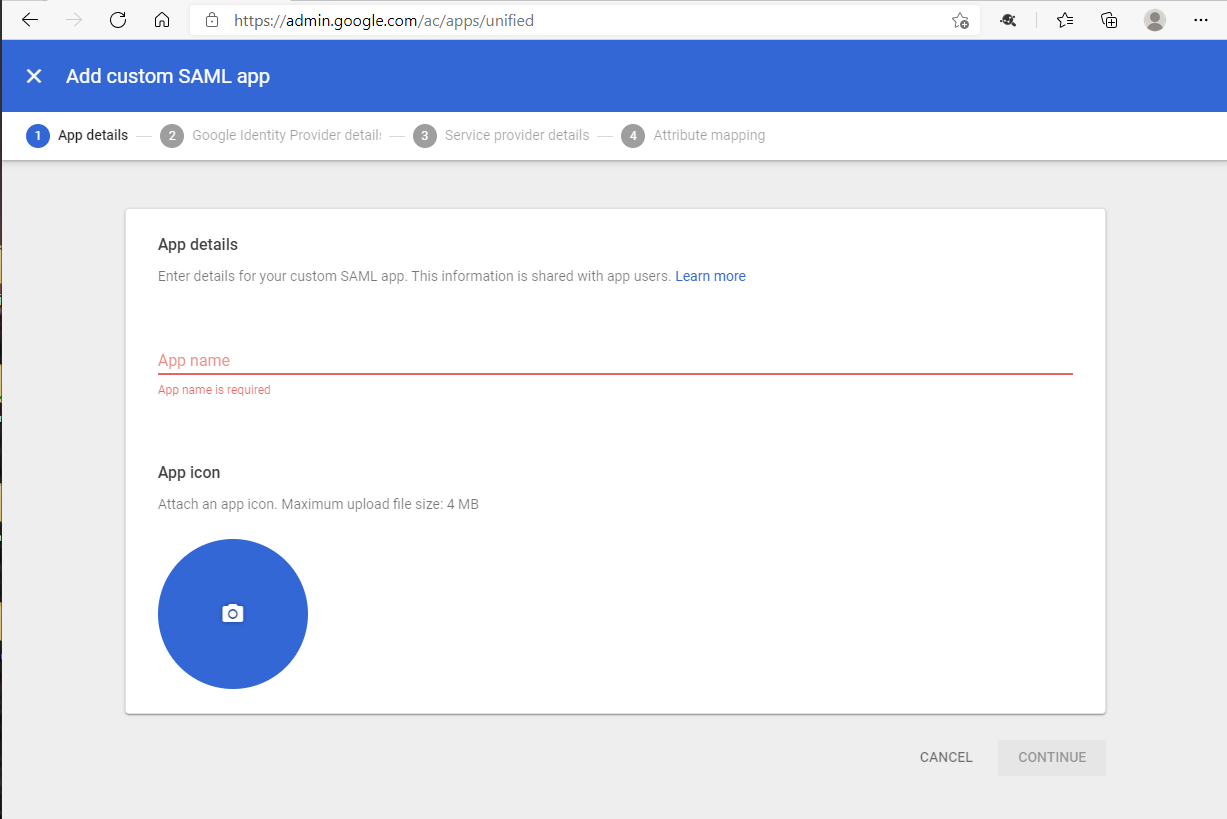
4. Under “Add App”, select “Add custom SAML app”.
5. In the next window, provide an application name and logo if desired:
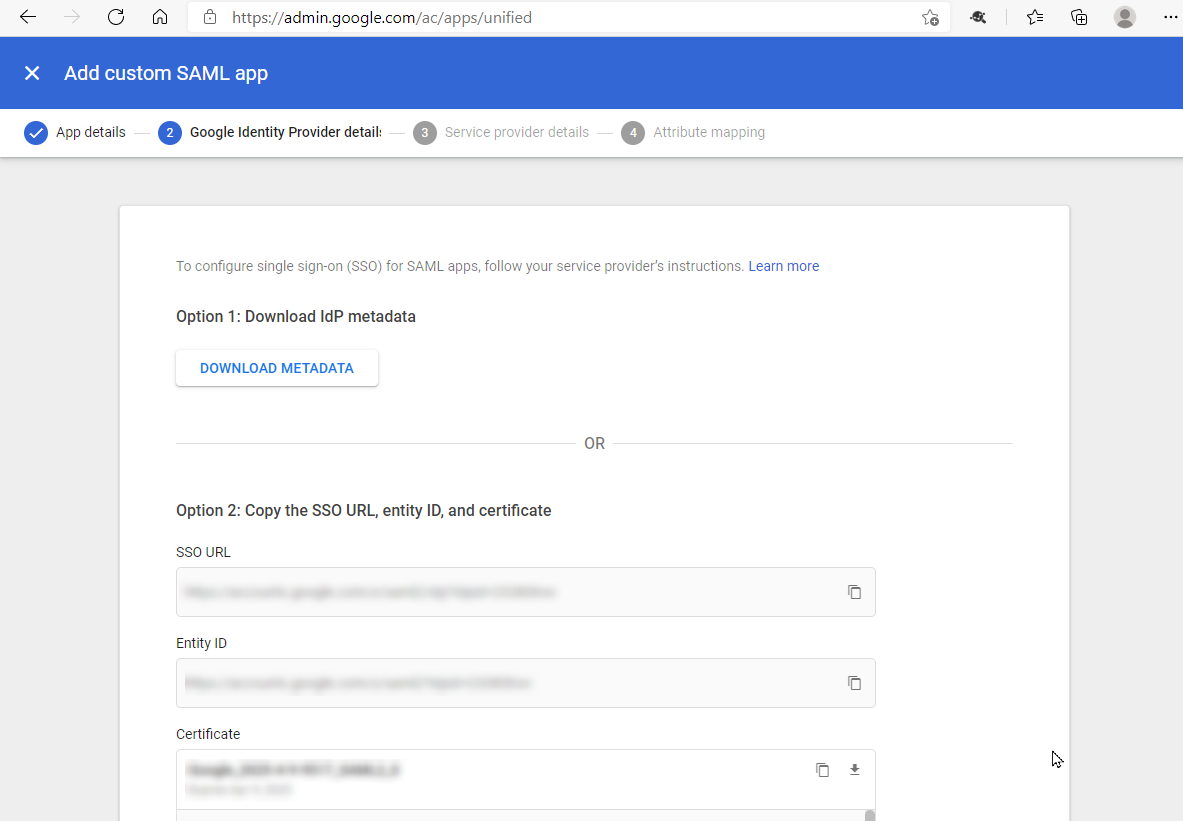
6. In the next step, download the metadata from option 1. Make sure to save the metadata somewhere you can reference later. Cirrus Identity will use the metadata to configure the Cirrus Bridge. Select the “Continue” button at the bottom.
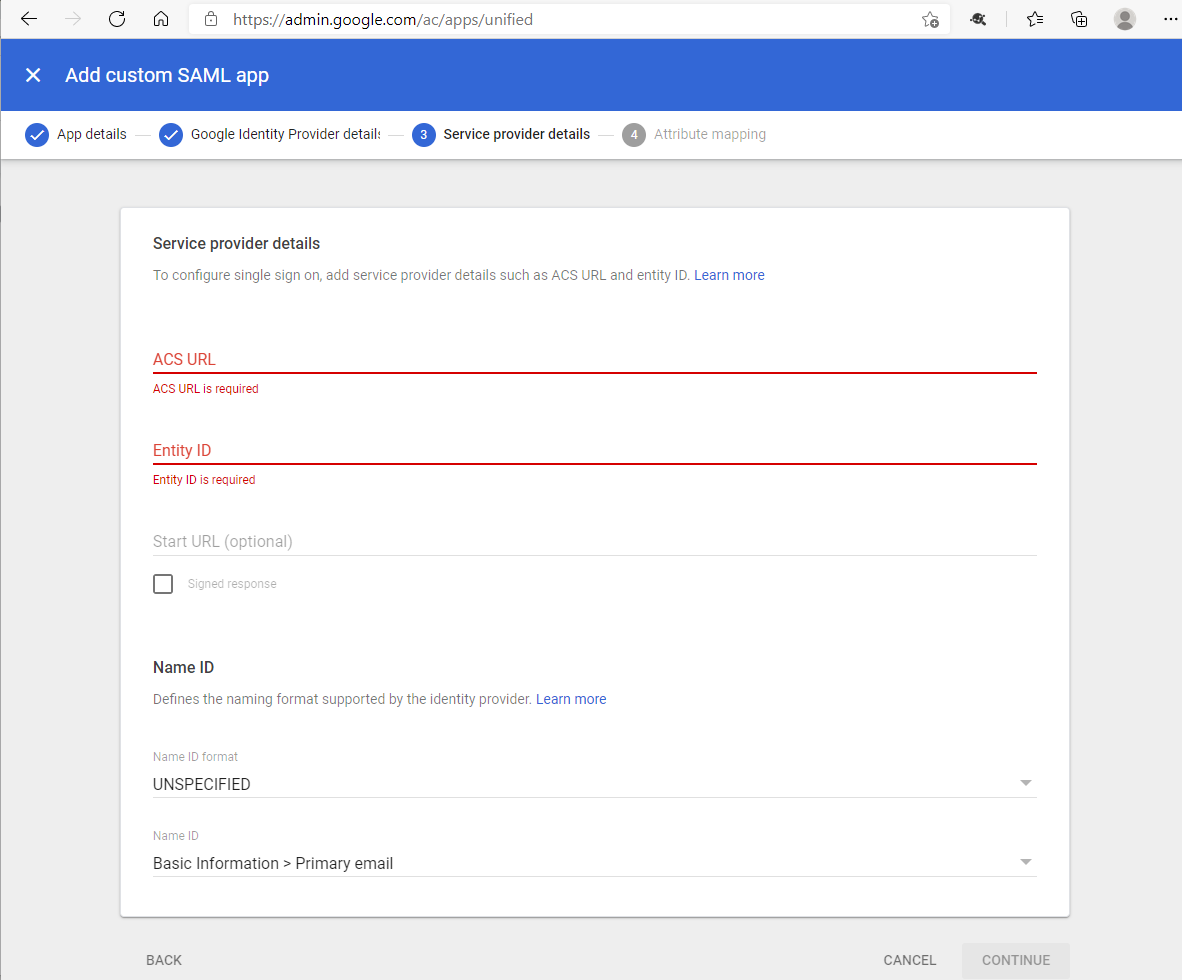
a. ACS URL <<< ACS URL HERE >>>
b. Entity ID <<< EntityID here >>>>
c. Name ID should be set to “TRANSIENT”
Press “Continue” when complete.
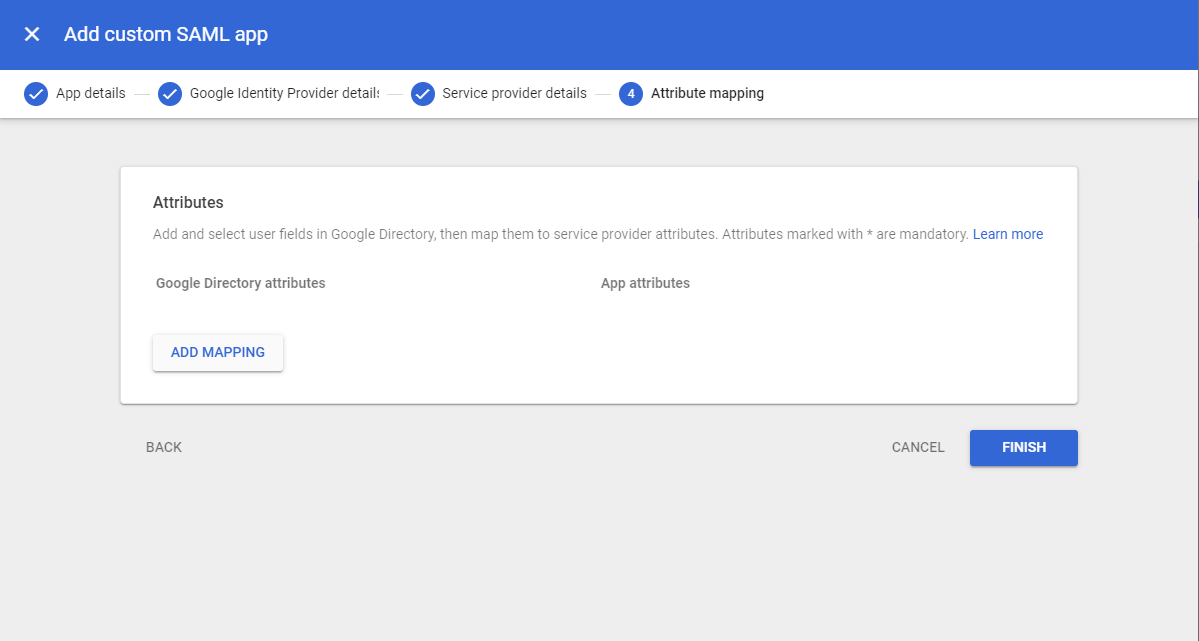
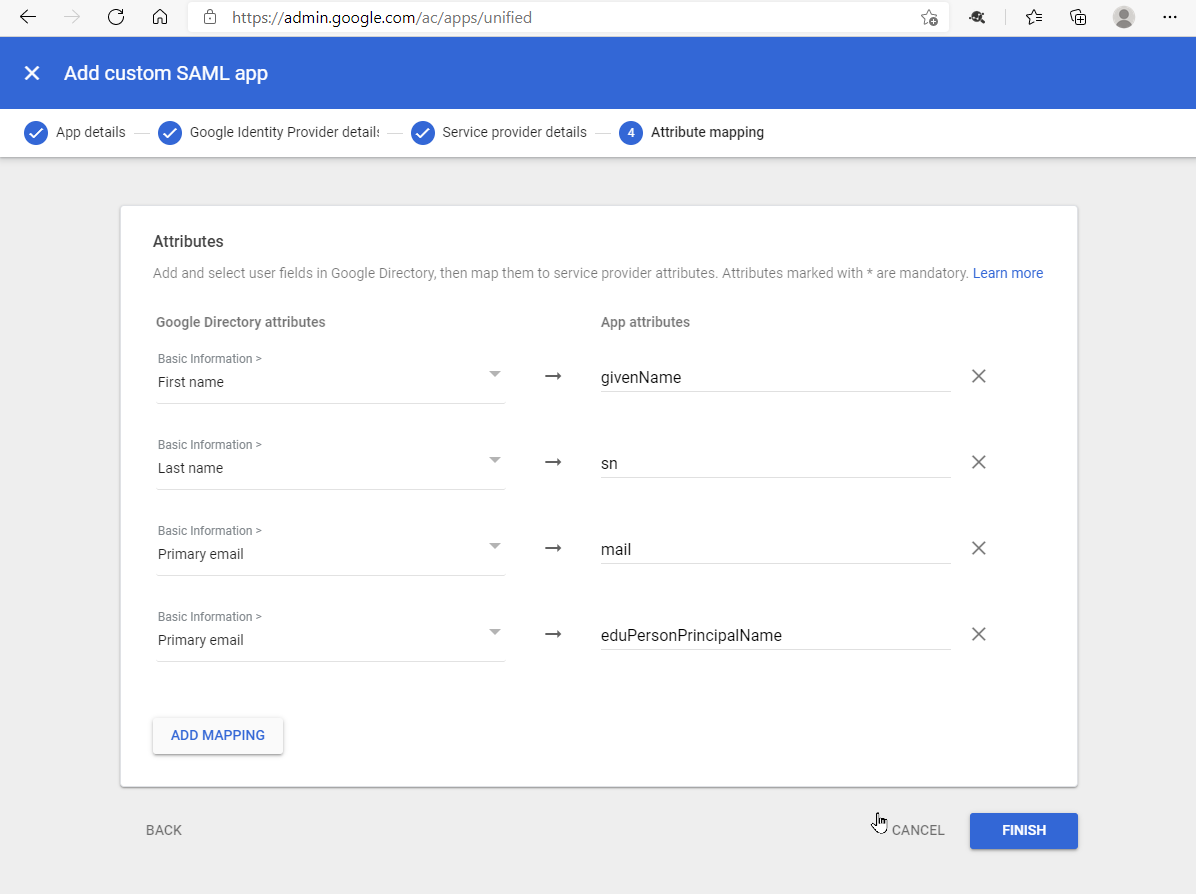
8. On the next step, we will map attributes that your identity provided will assert.
Add the following attributes:
a. sn - basic information - last name
b. givenName - basic information - first name
c. mail - basic information - primary email
d. eduPersonPrincipalName - basic information - primary email
Your mapped attributes should look like the following screenshot:
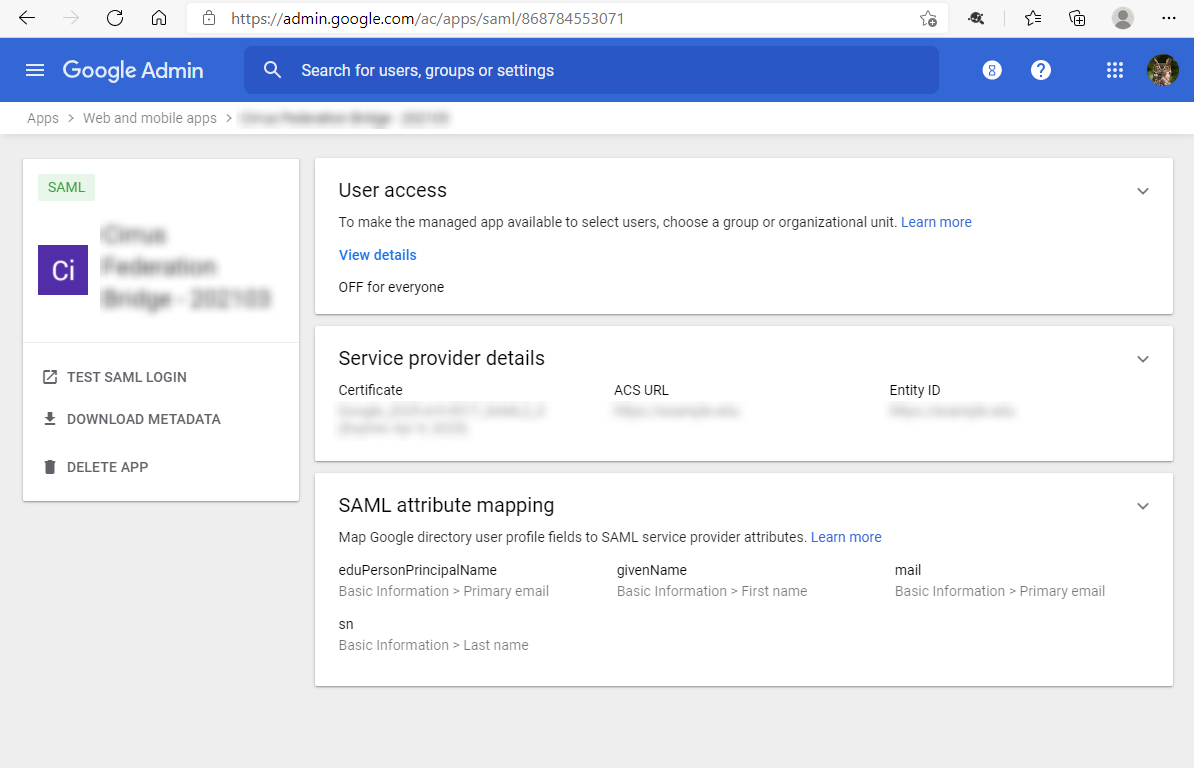
9. Click on “Finish” once you have added the attributes above.
You will see a window appear like the following.
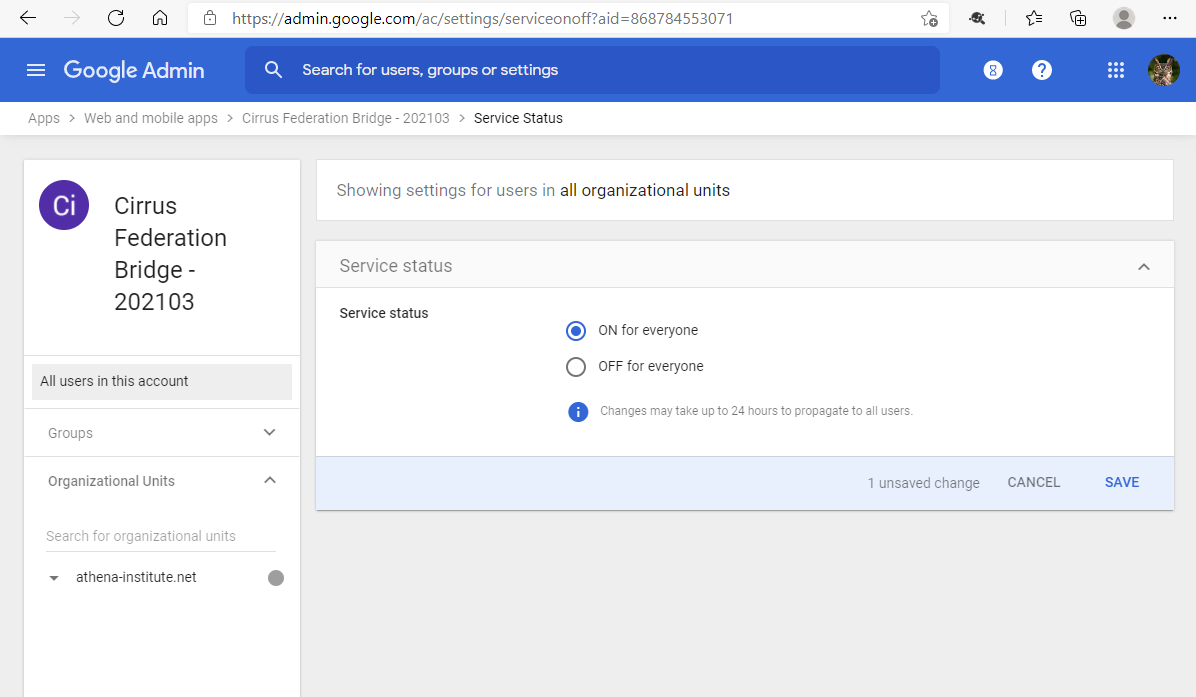
10. We will now enable SSO on the recently created SAML app. Click on “Off for everyone” in the “User access tile” to bring up the access dialog. Change the access to “On for everyone”. Click “SAVE” when done.
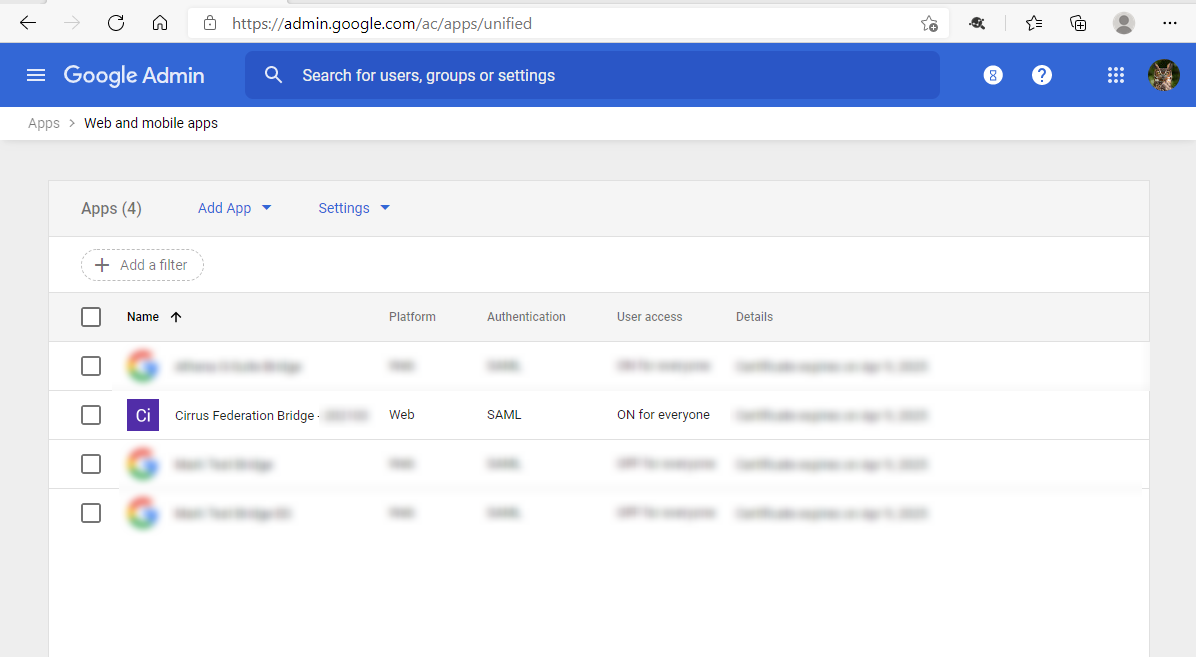
11. You have turned on SSO for your SAML app. Your screen should look similar to the screenshot below.
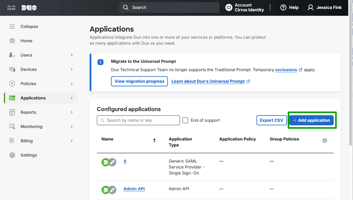
12. Send the metadata from Step 6 to your Cirrus Identity technical implementation lead or email to support@cirrusidentity.com.